Requirements and installation
PHP Bid runs on any ordinary PHP hosting account. The installation takes about ten minutes: upload the files, create a database, import one SQL file and enter the database details in config.php.
Server requirements
| Component | Requirement |
|---|---|
| PHP | 7.4 or newer (tested up to PHP 8.2), with the extensions pdo_mysql, mbstring, curl and gd. |
| Database | MySQL 5.7+ or MariaDB 10.3+. |
| Web server | Apache with mod_rewrite (for the search engine friendly URLs - optional). Nginx and LiteSpeed also work. |
| HTTPS | Strongly recommended, and required by Stripe for live payments. |
The PHP mail() function must be able to send e-mails (it can on almost every hosting). |
Almost every shared hosting plan with cPanel, Plesk or DirectAdmin meets these requirements.
Step 1 - Upload the files
Unzip the PHP Bid package on your computer and upload the content of the PHPBid folder to your hosting with an FTP program (FileZilla, WinSCP) or the file manager of your hosting panel. Upload it to the web root of your domain (often public_html) or to a sub-folder such as /auctions.
Step 2 - Create the database
- In your hosting panel open MySQL Databases and create a new database, for example
mysite_phpbid. - Create a database user with a strong password and give it all privileges on the new database.
- Open phpMyAdmin, select the database, click Import and import the file
database/install.sqlfrom the package.
The SQL file creates all the tables with the prefix phpbid_ and adds demo categories, auctions and pages, so you can see the site working immediately. You can delete the demo content later from the admin panel.
Step 3 - Edit config.php
Open config.php in the main folder with a text editor and enter your details:
$DOMAIN_NAME="www.yourdomain.com";

$DBHost="localhost";
$DBUser="your_database_user";
$DBPass="your_database_password";
$DBName="your_database_name";
$DBprefix="phpbid_";

$DEBUG_MODE=false;

$SECURITY_SALT="change-this-to-a-long-random-text";- $DOMAIN_NAME - your domain, without
http://. If you installed in a sub-folder, add it:www.yourdomain.com/auctions. - $DBHost - almost always
localhost. - $SECURITY_SALT - replace it with a long random text (40+ characters). It protects the sessions, forms and the cron link. Set it once and do not change it later.
- $DEBUG_MODE - keep it
falseon a live website. Set it totrueonly for a short time if you need to see PHP error messages.
Step 4 - Folder permissions
The folders uploaded_images and thumbnails must be writable by PHP, because the photos of the items, the logo and the blog images are saved there. On most hosting accounts they are writable already; if uploads fail, set them to 755 (or 775) in your FTP program.
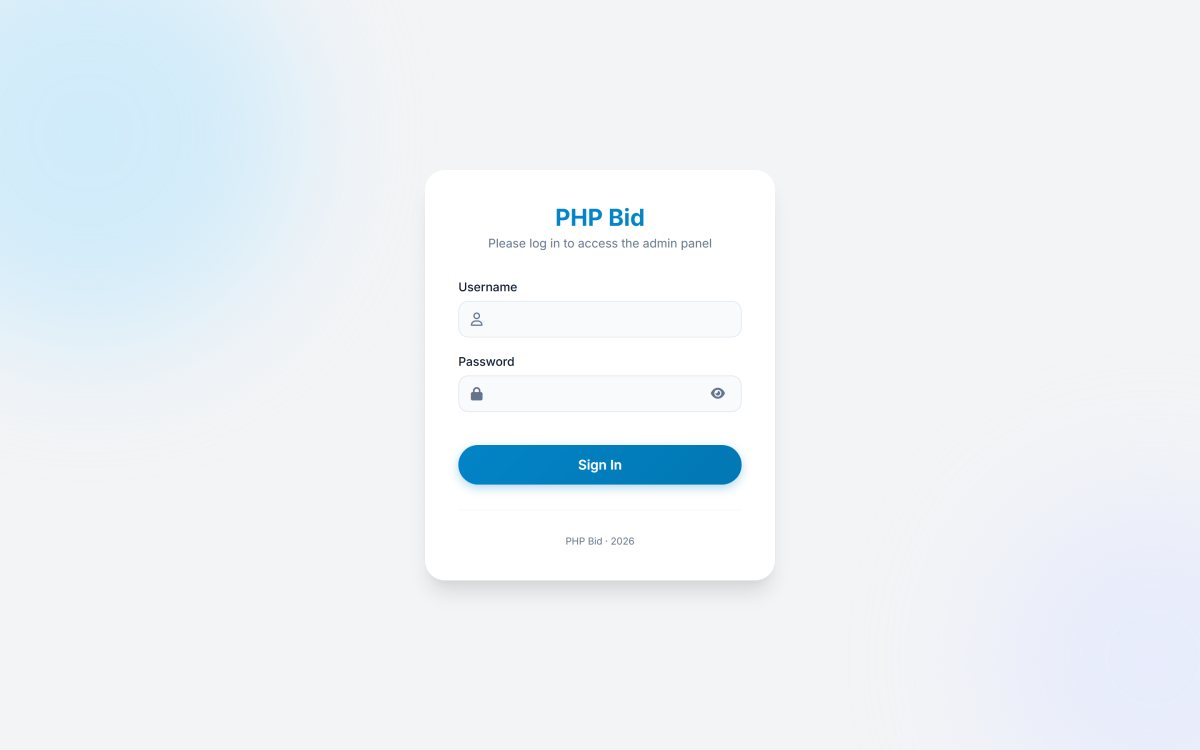
Step 5 - Log in to the admin panel
Open https://www.yourdomain.com/ADMIN/ and log in with the default administrator account:
- Username:
administrator - Password:
abc123
Search engine friendly URLs
The package includes an .htaccess file with the rewrite rules for short URLs like /en-auction-rolex-submariner-7. Upload it together with the other files (it is a hidden file, so make sure your FTP program shows hidden files). Then turn the URLs on in Settings › Configuration Options › Languages & URLs. See SEO, tracking and social media.
Moving to another server later
Copy all the files, export the database with phpMyAdmin and import it on the new server, then update the database details (and the domain, if it changed) in config.php. Keep the same $SECURITY_SALT.